Applying waterproof paint to your home’s exterior is essential for long-lasting protection against the elements. This guide will walk you through how to apply waterproofing paint to ensure your home’s longevity and aesthetic appeal. Whether you’re a seasoned DIY enthusiast or a first-time painter, understanding the proper techniques and choosing the right waterproof paint is crucial. From selecting the best products to mastering the application process, our comprehensive guide will help you achieve professional results. Discover the best practices and expert tips for waterproof paint NZ to keep your home in top condition, regardless of the weather.
What Is Waterproof Paint?
Waterproof paint is a specialized coating designed to prevent water penetration and protect surfaces from moisture damage. Unlike regular paint, waterproof paint includes unique additives that create a barrier against water, making it essential for areas exposed to high humidity, rain, or direct water contact.
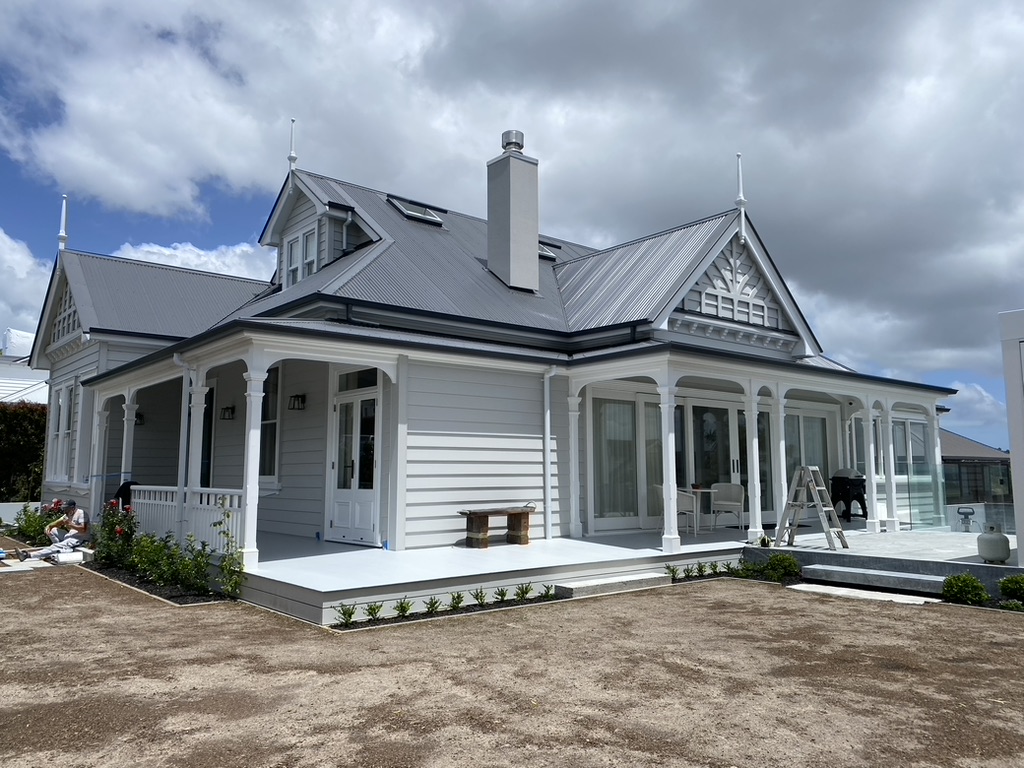
Using waterproof paint is crucial for exterior applications, especially in regions with heavy rainfall. For homeowners in New Zealand, products like waterproof paint NZ are specifically formulated to withstand the country’s diverse weather conditions. Professional exterior painters Auckland often recommend such products to ensure longevity and durability of painted surfaces. They also recommend waterproof white paint is a popular choice for both its aesthetic appeal and functional benefits, providing a clean, bright finish while ensuring protection against moisture and safeguarding the integrity of your home.
How Does Waterproof Paint Work?
The effectiveness of waterproof paint lies in its ability to form a water-repellent barrier on the painted surface. This is achieved through a combination of factors:
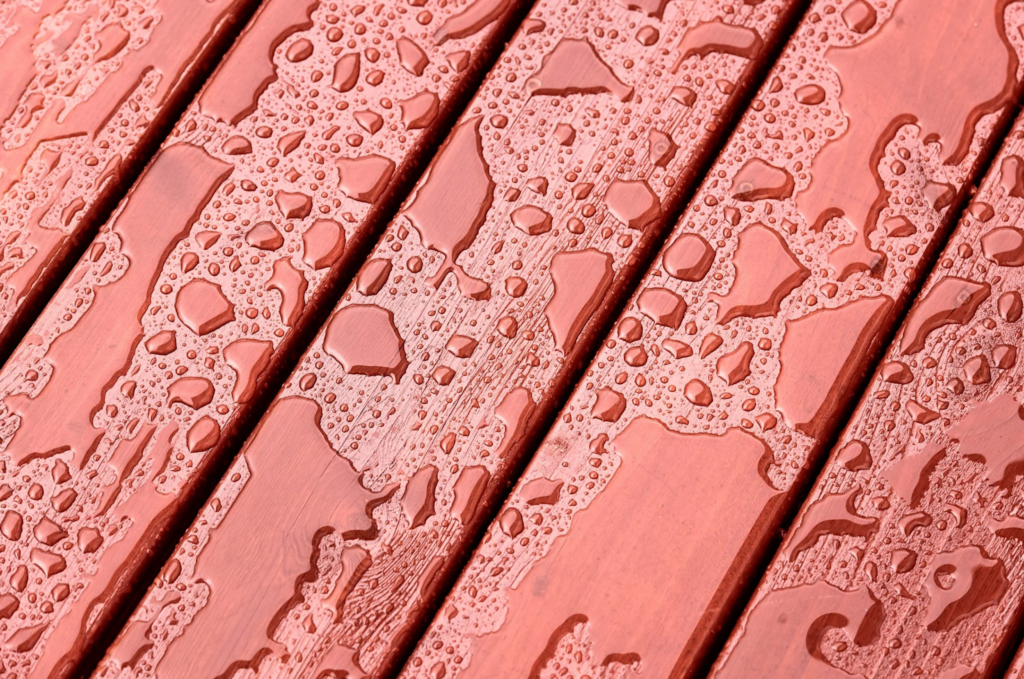
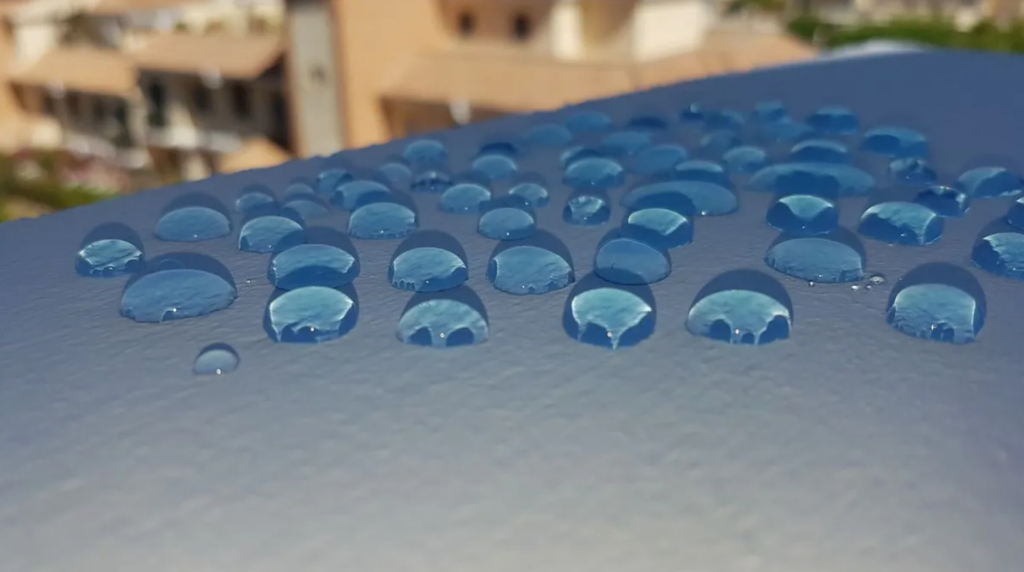
- Hydrophobic Properties: Waterproof paint contains hydrophobic materials that naturally repel water. These materials form a microscopically smooth surface, preventing water droplets from adhering to the paint. Instead, the water droplets tend to bead up and roll off the surface. This property is crucial for maintaining the integrity of surfaces exposed to rain or humidity.
- Film Formation: When waterproof paint is applied to a surface, it dries and forms a continuous film. This film acts as a physical barrier, inhibiting water penetration. The resins present in the paint undergo a chemical reaction known as polymerization, creating a tightly bonded film that resists water intrusion. Practically, house painters Auckland recommend using foundation waterproofing paint to protect the base of homes from water damage, ensuring structural integrity and longevity.
- Micropores and Microcracks: Despite the strong film formation, it is nearly impossible to achieve a perfectly smooth surface. Waterproof paint contains tiny micropores and microcracks that may be invisible to the naked eye. These imperfections allow the paint to breathe, permitting trapped moisture to escape while still maintaining water resistance. This feature is particularly beneficial in regions with fluctuating temperatures, as it prevents the buildup of moisture within walls, reducing the risk of mold and mildew growth.
How To Apply Waterproofing Paint
This guide will walk you through the main sections on how to apply waterproofing paint effectively.
Section 1: Preparation
1.1 Inspect the Surface
- Check for damage or mold: Before starting, thoroughly inspect the walls for any signs of damage or mold. These issues must be addressed to ensure the waterproof paint adheres properly and provides long-lasting protection. According to industry standards, failing to repair damaged areas can reduce the paint’s effectiveness by up to 50%.
- Repair cracks and holes: Use appropriate fillers or sealants to repair any cracks and holes. Exterior house painters Auckland recommend using epoxy fillers for large cracks and silicone-based fillers for smaller ones.
1.2 Clean the Surface
- Power wash the walls: Cleaning the walls is crucial. A power wash removes dirt, grease, and loose paint, providing a clean surface for the paint to adhere to. Unclean surfaces can lead to peeling and bubbling of the paint within months.
- Remove loose paint or debris: Scrape off any loose paint or debris that the power wash didn’t remove. This step ensures that the new paint layers will bond effectively to the surface.
1.3 Dry the Surface
- Allow the walls to dry completely: After cleaning, it is vital to let the walls dry completely. Moisture can interfere with the adhesion of the waterproof paint.
- Importance of a dry surface: Waterproof paint works by creating a barrier that prevents water penetration. If the surface is not dry, this barrier will not form correctly, leading to potential water damage and mold growth.
1.4 Gather Materials
Ensure you have all necessary materials before starting the project. This includes:
- Waterproof paint: Choose a high-quality waterproof paint suitable for your climate. For example, waterproof paint NZ is designed to withstand varying weather conditions.
- Primer: A primer is essential for improving the adhesion and durability of the waterproof paint.
- Brushes and rollers: Select brushes and rollers suitable for exterior surfaces.
- Painter’s tape: Use painter’s tape to protect areas you do not want to paint.
- Drop cloths: Protect the ground and nearby objects from paint splatters.
- Safety equipment: Wear safety goggles, gloves, and a mask to protect yourself from fumes and splashes.
Section 2: Priming
2.1 Choose the Right Primer
- Primers are designed to create a smooth and adhesive surface for the waterproof paint, enhancing its durability and effectiveness. For exterior surfaces, especially when dealing with foundation waterproofing paint, it is essential to choose a primer that is compatible with both the surface material and the type of waterproof paint you are using.
- Types of Primers:
- Acrylic Primer: Ideal for most exterior surfaces, including wood, masonry, and concrete. It provides excellent adhesion and resistance to alkali.
- Oil-Based Primer: Suitable for surfaces that have previously been painted with oil-based paint. It also works well on stained or weathered wood.
- Specialty Primers: These include primers specifically designed for waterproofing. For instance, using a primer that pairs well with waterproof white paint ensures that the final finish is both aesthetically pleasing and highly protective against moisture.
2.2 Apply the Primer
Here are some detailed tips to ensure an even and effective application:
- Surface preparation: Ensure the surface is clean, dry, and free from any dust or debris. This step is crucial as any contaminants can affect the adhesion of the primer.
- Even application: Use a high-quality brush or roller suitable for exterior surfaces. Start by applying the primer in a thin, even coat. For large areas, a roller can speed up the process, while brushes are better for edges and corners.
- Techniques for even application: Apply the primer in long, smooth strokes, maintaining a wet edge to avoid lap marks. Overlap each stroke slightly to ensure full coverage.
- Drying times and conditions: Allow the primer to dry completely before applying the waterproof paint NZ. Drying times can vary depending on the product and weather conditions, but typically, it takes about 24 hours. It’s essential to check the manufacturer’s instructions for specific drying times. Applying foundation waterproofing paint or any other waterproof paint too soon can lead to poor adhesion and compromised waterproofing.
Section 3: Painting
3.1 Choose the Right Waterproof Paint
- There are various types of waterproof paint available, each designed for different surfaces and conditions. For example, waterproof paint NZ offers a range of products tailored to withstand the unique weather conditions in New Zealand.
- Types of waterproof paint:
- Acrylic Waterproof Paint: Ideal for most exterior surfaces, including wood and masonry. It is known for its flexibility and resistance to cracking.
- Epoxy-Based Waterproof Paint: Suitable for surfaces that require a tough, durable finish, such as concrete floors and walls.
- Elastomeric Waterproof Paint: Provides a thick, flexible coating that can bridge small cracks and is excellent for surfaces that experience frequent expansion and contraction.
3.2 Mixing the Paint
Proper mixing ensures that the pigments and resins are evenly distributed, which is vital for consistent color and performance.
- Uniform color and texture: Even mixing prevents streaks and uneven patches.
- Optimal performance: Properly mixed paint adheres better and forms a more effective waterproof barrier.
- Use a paint stirrer or an electric mixer to ensure the paint is thoroughly blended.
3.3 Apply the First Coat
Applying the first coat of waterproof paint requires attention to detail to achieve a smooth and even finish.
- Brushes and rollers: Use high-quality brushes for edges and corners and rollers for larger areas. Rollers should be of the appropriate nap length for the surface texture.
- Application method: Apply the paint in a consistent, overlapping pattern to avoid streaks. Maintain a wet edge to prevent lap marks.
- Coverage: Ensure even coverage by not overloading the brush or roller with paint. Thin, even layers are more effective than thick, heavy coats.
3.4 Let it Dry
- Allow the first coat to dry completely before applying additional coats. The drying time can vary depending on the paint type and environmental conditions.
- Typically, waterproof paint requires at least 24 hours to dry. Check the manufacturer’s instructions for specific drying times. Proper drying is essential to ensure the next coat adheres well and provides maximum protection.
Section 4: Applying Additional Coats
4.1 Inspect the First Coat
- Before applying the second coat, inspect the first coat for any missed spots or uneven areas. This step ensures that the final finish is uniform and flawless.
- Use a bright light to check for thin spots or areas where the paint did not adhere properly. Address any issues before proceeding to the next coat.
4.2 Apply the Second Coat
- Use the same techniques as the first coat. Apply the paint in thin, even layers and maintain a wet edge. Overlap slightly with each stroke to ensure full coverage.
4.3 Additional Coats (if necessary)
- In some cases, a third coat may be necessary to achieve the desired level of protection and finish. Additional coats may be needed for surfaces exposed to harsh weather conditions or for achieving a specific aesthetic. Follow the same application techniques and allow each coat to dry thoroughly.
Section 5: Finishing Touches
5.1 Inspect the Painted Surface
- After completing the application of waterproof paint, a thorough inspection of the painted surface is essential. This step ensures that the entire area has been covered evenly and that there are no missed spots or imperfections.
- Walk around the painted area with a bright light to spot any areas that may need additional paint. Look for thin spots, drips, or uneven coverage. If you find any, use a small brush to touch up these areas carefully. Touch-ups done within 24-48 hours of the final coat blend seamlessly and maintain the integrity of the waterproof seal.
5.2 Clean Up
- Disposal of Materials: Dispose of any leftover paint, solvents, and materials according to local regulations. Many communities have specific guidelines for the disposal of paint and related materials to prevent environmental contamination.
- Cleaning Brushes and Rollers: Clean your brushes and rollers immediately after use to prolong their lifespan. Use warm, soapy water for water-based paints and mineral spirits for oil-based paints. Rinse thoroughly and allow them to dry completely before storing.
Section 6: Maintenance Tips
6.1 Regular Inspections
- Regular inspections help identify early signs of wear or damage, allowing for timely repairs and extending the life of your waterproof paint job.
- Spotting Early Signs of Wear or Damage: Look for signs such as peeling, bubbling, or discoloration. These can indicate that the waterproof barrier has been compromised. Addressing these issues early can prevent more extensive damage and costly repairs.
6.2 Cleaning the Exterior
- Use a soft-bristled brush or a low-pressure power washer to clean the surfaces. Avoid harsh chemicals that can damage the paint. Instead, use mild detergents or specially formulated cleaners for painted surfaces. Regular cleaning prevents the build-up of dirt and grime, which can degrade the paint over time.
6.3 Touch-Up Painting
- Periodic touch-up painting is essential for maintaining the waterproof integrity and aesthetic appeal of the painted surfaces.
- Tips for maintaining the paint job over time: Keep some leftover waterproof paint stored properly for future touch-ups. When applying touch-up paint, ensure the surface is clean and dry. Use a small brush for precise application. For larger areas, lightly sand the edges of the existing paint to help the new paint blend seamlessly. Touch-ups not only preserve the appearance but also reinforce the waterproof barrier, protecting your property from moisture damage.
By following our detailed guide on how to apply waterproofing paint, you can ensure your home is well-protected from the elements. Using high-quality waterproof paint NZ products will give you the best results.
For professional assistance, consider hiring experienced exterior house painters in Auckland from Colour House. Our team is dedicated to providing top-notch services to make your home look great and stay protected. Contact us today to learn more about how we can help with your exterior painting needs.


