Gib stopping is an essential step in preparing interior walls for painting or wallpapering, ensuring a flawless, professional-looking finish. As a process that involves filling, smoothing, and preparing wall joints and imperfections, gib stopping plays a crucial role in achieving that perfectly smooth, seamless wall surface. Whether you’re a beginner or a seasoned DIY enthusiast, understanding the ins and outs of gib stopping can significantly improve the quality of your results.
In this gib stopping guide, we’ll explore the techniques and tips that can elevate your skills. With this article, you’ll learn how to gib stop effectively, avoid common mistakes, and gain confidence in creating a smooth, polished wall finish that lasts.
Prepare the Wall Surface
The foundation of a successful gib stop lies in surface preparation. Walls must be clean, dry, and free of dust or debris to ensure the compound adheres properly.
- Dust and grime can prevent the compound from sticking, leading to uneven coverage and potential cracking over time.
- Proper preparation significantly reduces the likelihood of peeling or flaking, providing a sturdy base for the compound layers.
Select the Right Joint Compound
Choosing the appropriate compound is essential in how to gib stop a wall, as different types are suited to different stages.
- Types of Joint Compounds: Quick-Set vs. Ready-Mix
- Quick-Set Compound: Dries faster, ideal for time-sensitive projects.
- Ready-Mix Compound: Slower drying time, making it easier to spread and work with, particularly suited for beginners.
For initial fills, opt for quick-set compounds, while the finishing layers benefit from the smoother consistency of ready-mix compounds.
Tape the Joints Properly
Properly taping joints is crucial in gib stopping. It prevents cracks from forming along the seams and helps achieve a smooth transition between panels.
- Paper Tape: Ideal for achieving strong bonds, but requires more skill to avoid bubbling.
- Mesh Tape: Easier to apply and suitable for beginners, though it may be less durable in high-moisture environments.
Smooth the tape with a taping knife as you go, pressing firmly to remove air bubbles. This is vital for a seamless finish.
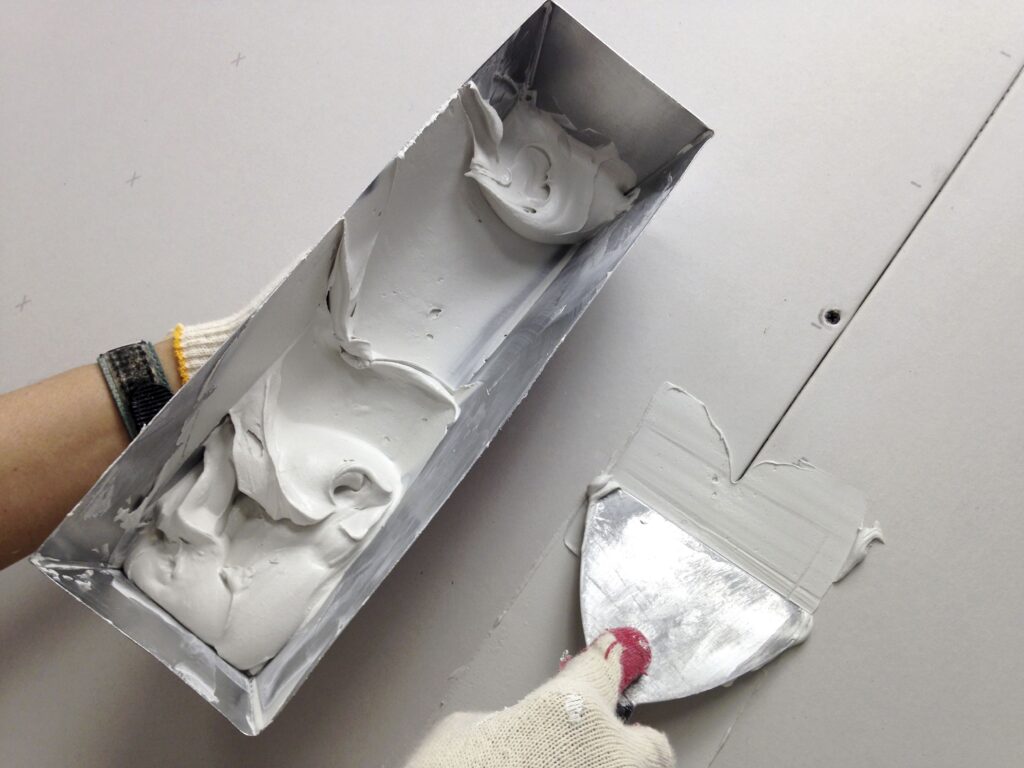
Apply the First Coat of Compound
The first coat sets the foundation, covering joints, nails, and screws. Applying it correctly is essential in the how to gib stop process.
- Choose a wide taping knife to spread the compound evenly, minimizing excess buildup and reducing the need for excessive sanding.
- Excessive thickness can lead to cracking and requires additional sanding, so aim for a smooth, even layer.
Layer the Compound Gradually
Gib stopping involves layering to create a seamless transition between the board and the wall.
- Expanding each layer by a few inches avoids noticeable transitions between the wall and compound layers, essential for a smooth finish.
- Drying times vary based on humidity and compound type, but generally, 24 hours between layers minimizes cracking risks.

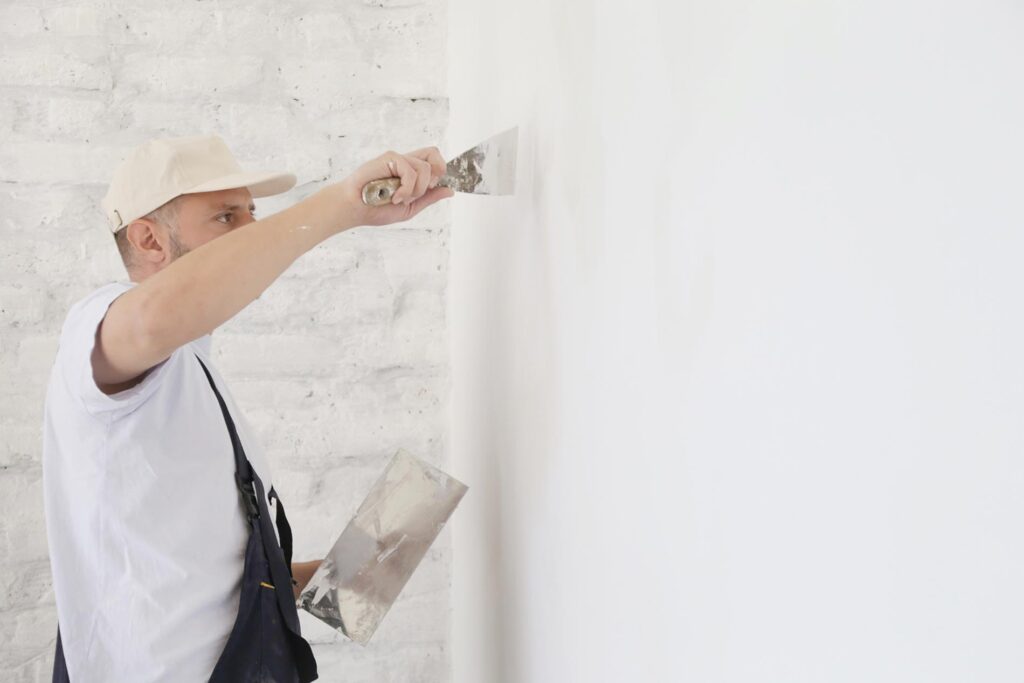
Feather the Edges
Feathering the edges of the joint compound is a critical step in achieving an even, seamless finish. Proper feathering ensures the compound blends smoothly into the surrounding wall surface.
- Using a wider taping knife for each coat, spread the compound gradually, creating a thin edge that seamlessly meets the wall surface. Feathering prevents visible lines or bumps, which can be especially noticeable after painting.
- Start by applying pressure toward the middle of the compound area and gradually release as you move outward. This technique ensures a gradual blend, and it’s best to use at least an 8-inch knife for the final layer to achieve a smooth transition.
Sand Between Layers
Sanding between each layer of compound helps eliminate bumps, ridges, and other irregularities, resulting in a smooth surface that’s ready for painting.
- Using 120 to 150-grit sandpaper is ideal for this step, as it removes imperfections without damaging the wall. Be gentle to avoid uneven surfaces or gouges in the compound.
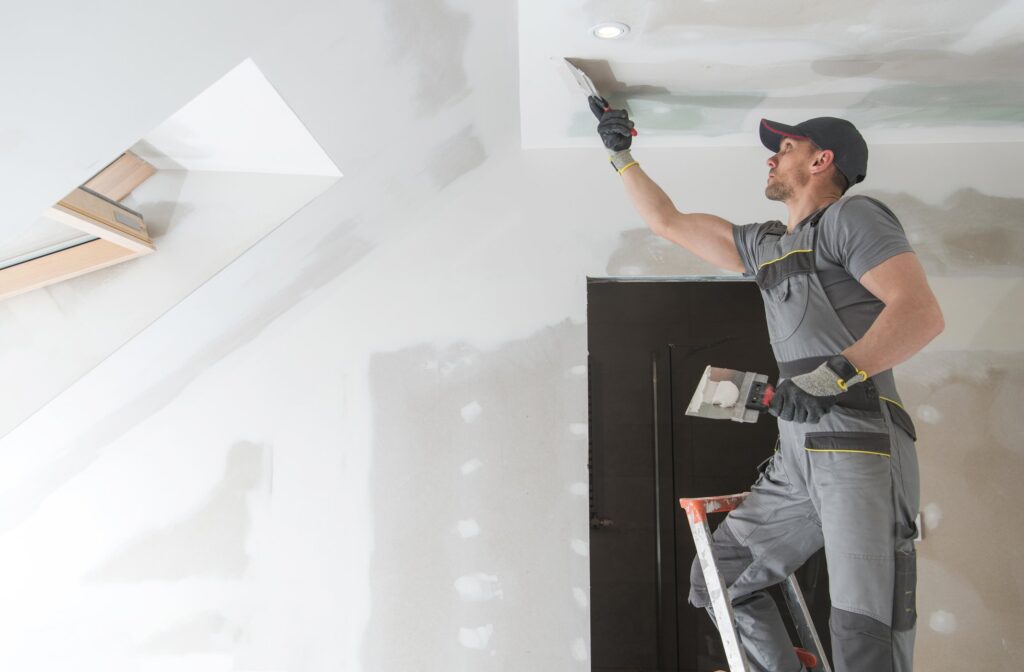
- To control dust, consider using a sanding pole with a vacuum attachment or lightly dampen the sandpaper. If working on ceilings or high areas, a pole sander helps maintain even pressure across the surface.
Check for Imperfections
Spotting imperfections ensure a high-quality finish. It’s a step that often separates professional results from amateur attempts in how to gib stop a wall.
- Using a flashlight or work light at a 45-degree angle will reveal imperfections such as dips, bumps, or rough spots. Mark these areas lightly with a pencil to address them before moving forward.
- Small dips can be patched with additional compound, while raised areas should be sanded down carefully. These corrections improve the uniformity of the surface, which will help achieve a flawless finish once painted.
Apply a Primer
Priming is a next step in preparing the wall for the final paint coat, ensuring even absorption and adherence across the gib-stopped areas and the original wall surface.
- Primer seals the joint compound and creates a consistent base for paint, preventing uneven coloration and absorption. For how to gib stop a wall effectively, this step is key to a professional, long-lasting finish.
- Use a high-quality drywall primer that matches the finish of your final paint. Apply primer with a roller for an even coat, taking care to cover all gib-stopped areas and edges thoroughly.
Paint for the Final Finish
The painting stage brings your hard work to fruition. Quality paint and tools will give your gib-stopped wall the polished, even finish you’re aiming for.
- Invest in high-quality paint and a good roller or brush to achieve a smooth finish. Low-quality paint can leave streaks or peel over time, so opt for a reputable brand.
- Apply two coats of paint, allowing sufficient drying time between them. Use a “W” or “M” motion when rolling paint to avoid roller marks, and keep a wet edge to prevent lines from forming. Following these steps will give your wall a professional, smooth finish.
Mastering these 10 tips on how to gib stop can transform your walls with a smooth, professional finish. By following each step closely in this gib stopping guide, from precise application techniques to effective sanding and finishing, you’ll achieve results that not only look great but stand the test of time. Remember, practice is key; each project is an opportunity to refine your skill and gain confidence.
For those seeking a truly flawless finish, Colour House Painting offers expertise and quality to bring your walls to perfection. Explore our services to see how our skilled team can bring your space to life.


