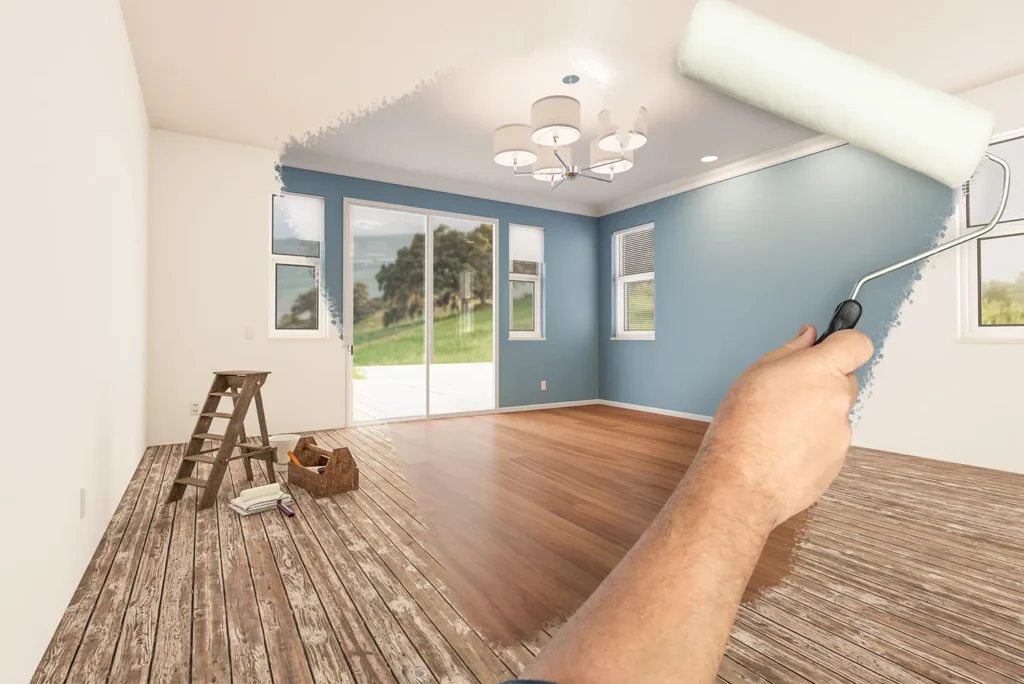
A fresh coat of interior house paint can completely transform the look and feel of your home, adding vibrancy and a sense of renewal to any space. Whether you’re tackling a small project like kitchen paint or updating multiple rooms, DIY painting can be a cost-effective and highly satisfying way to achieve professional results. However, success lies in the details—from selecting the right tools to mastering techniques that the pros use. In this guide, we’ll share 10 essential tips that will help you paint like a pro, ensuring a flawless finish every time.
Pick The Right Paint
Latex paint is known for its quick drying time, lower odor, and easy clean-up, making it ideal for interior house paint projects. Oil-based paints, on the other hand, provide a durable finish, but they require longer drying times and more effort in cleaning. For those working with kitchen paint, oil-based options may be preferred for their durability in high-traffic areas.
Matte finishes offer a non-reflective, velvety appearance that’s perfect for hiding imperfections. Eggshell finishes provide a slight sheen, making them ideal for living rooms and bedrooms. Satin finishes, often recommended by house painters Auckland, offer a subtle shine that’s both attractive and easy to clean, making them suitable for kitchens and bathrooms.
Light colors can make a small space appear larger, while darker tones add warmth and coziness. Utilizing color samples and consulting with professional house painters, can help ensure that your interior house paint choice perfectly complements the room’s design.
The Necessary Tools Makes All the Difference
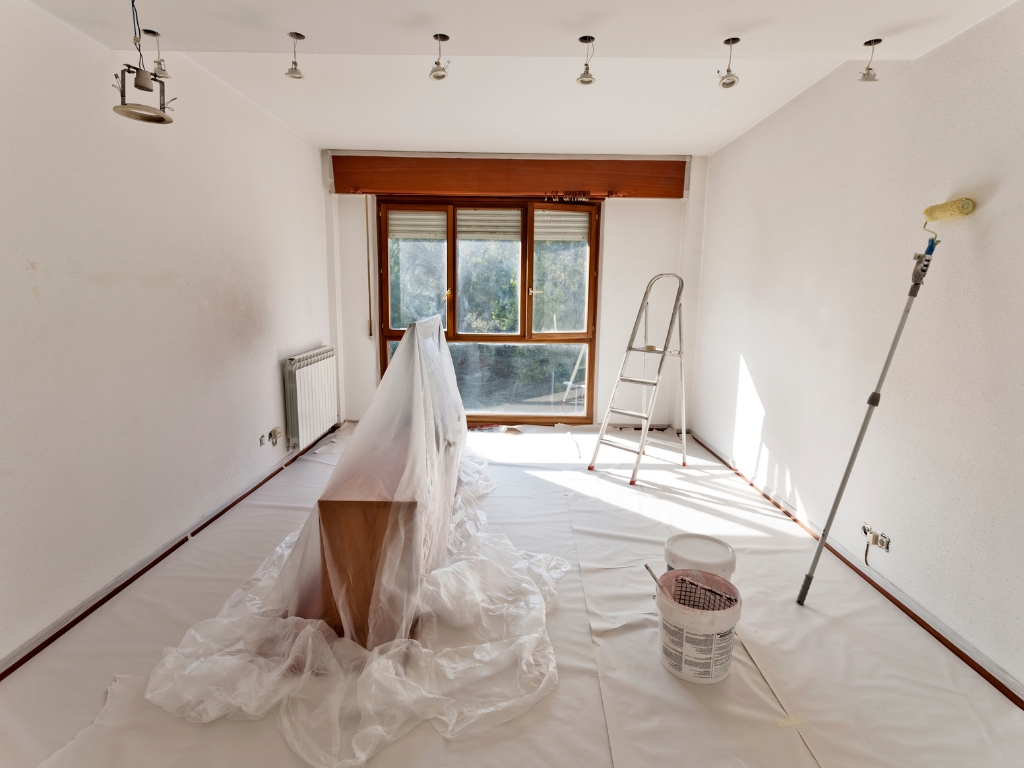
Before starting, prepare a comprehensive checklist of all the tools and materials you’ll need. This not only saves time but also helps maintain focus on the task at hand. Key items include high-quality brushes, rollers, painter’s tape, and drop cloths.
Quality tools not only provide a smoother application but also reduce the chances of streaks and uneven textures. Investing in premium brushes and rollers ensures that your interior house paint is applied evenly, resulting in a flawless finish that lasts longer.
Proper Surface Preparation
Start by thoroughly cleaning the walls to remove dirt, grease, and dust. For kitchen paint, pay special attention to areas prone to grease buildup, as a clean surface ensures better adhesion of the paint.
Proper surface preparation involves sanding down rough areas, filling holes and cracks with appropriate filler, and applying a primer. Priming is especially important for ensuring that your interior house paint adheres properly and provides an even finish, particularly on new or repaired surfaces.
Different wall textures require different approaches. For smooth walls, a light sanding might suffice, while rough or textured walls may need more extensive preparation.
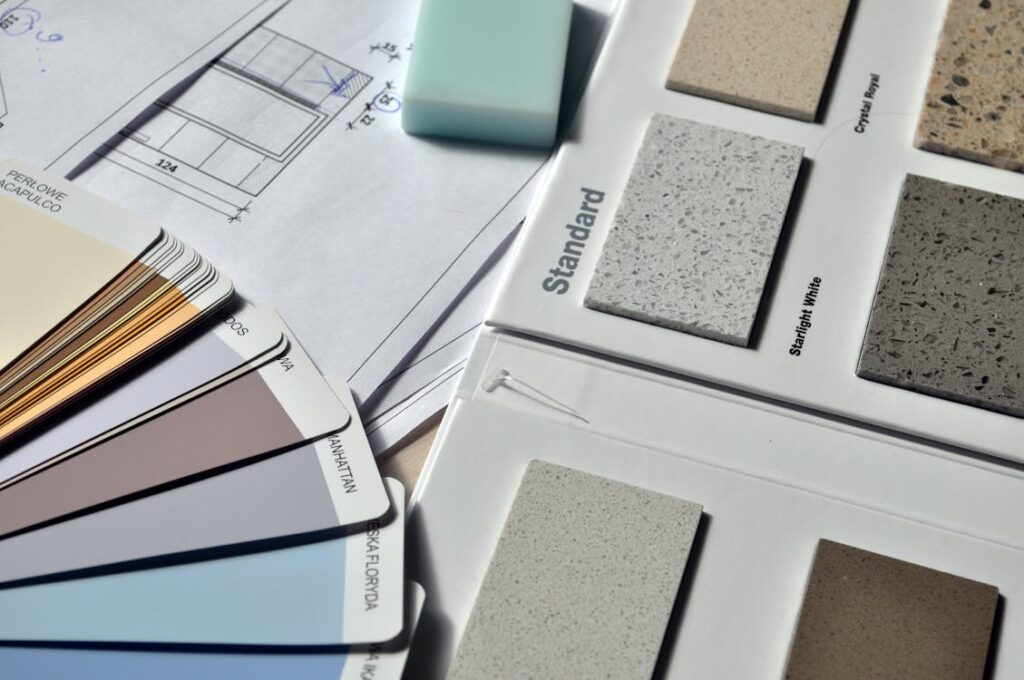
Test Paint Samples
Applying a small section of interior house paint to the wall allows you to see how the color truly looks in your space. This practice is especially recommended by interior house painters Auckland, who understand that colors can appear differently under various lighting conditions. Testing helps avoid costly mistakes and ensures you select a color that fits your vision.
Colors can change dramatically depending on the time of day and the type of light in the room. It’s vital to observe how your chosen interior house paint looks in the morning, afternoon, and evening light. For instance, a color that seems perfect in daylight might appear too dark or dull under artificial lighting.
Don’t hesitate to test several shades of the same color family. By comparing different tones, you can find the perfect balance that suits your room’s décor and ambiance. Experts often suggest painting large swatches next to each other on the wall to see how they interact with the room’s lighting and existing elements. This method ensures that your final interior house paint choice will harmonize with the entire space.
Use Painter’s Tape For Clean Lines
Painter’s tape is an indispensable tool for achieving crisp, clean lines, especially around trims, edges, and corners. By applying painter’s tape carefully, you protect areas that should remain paint-free, ensuring a neat and polished look.
Applying painter’s tape correctly is crucial to preventing paint seepage. Press the tape firmly against the surface to create a tight seal, and make sure it is straight and level. Taking the time to apply the tape meticulously will pay off in the final result. Experts recommend running a credit card or a similar object along the edge of the tape to secure it fully against the wall.
The timing of tape removal is just as important as its application. To achieve the cleanest lines, remove the painter’s tape while the paint is still slightly wet. This prevents the paint from peeling or pulling away with the tape. Interior house painters often advise removing the tape slowly and at a 45-degree angle for the best results.
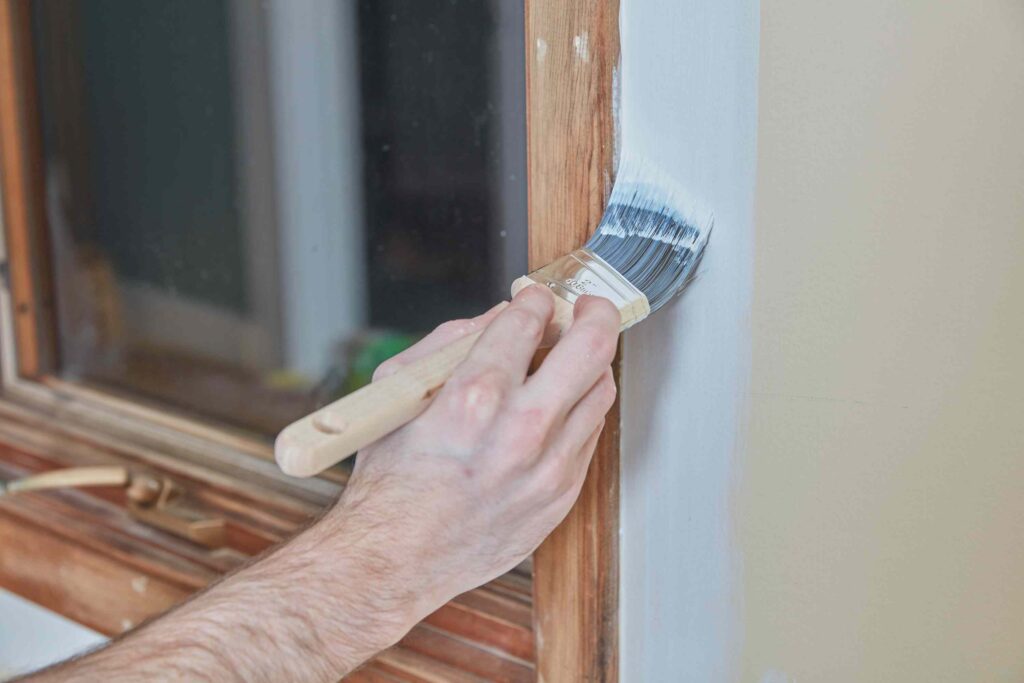
Master The Technique Of Cutting In
Cutting in refers to the process of painting the edges of walls, around trim, and in corners before rolling the rest of the wall. This technique is crucial for achieving a seamless transition between different areas, and sets the foundation for a smooth and professional-looking finish.
An angled brush is the preferred tool for cutting in, as it allows for greater control and precision. When cutting in, dip the brush lightly into the paint and carefully paint along the edges. Maintaining a steady hand and a consistent angle is key to achieving sharp, clean lines. Experienced painters often recommend practicing on a piece of cardboard or scrap material before tackling the walls.
After cutting in, it’s important to blend the edges with the rest of the wall to avoid visible lines or differences in texture. Use a roller to lightly go over the cut-in areas while the paint is still wet, blending them seamlessly with the larger wall surface. This technique is particularly useful when working with different textures, such as those encountered in gib stopping and other wall preparations.
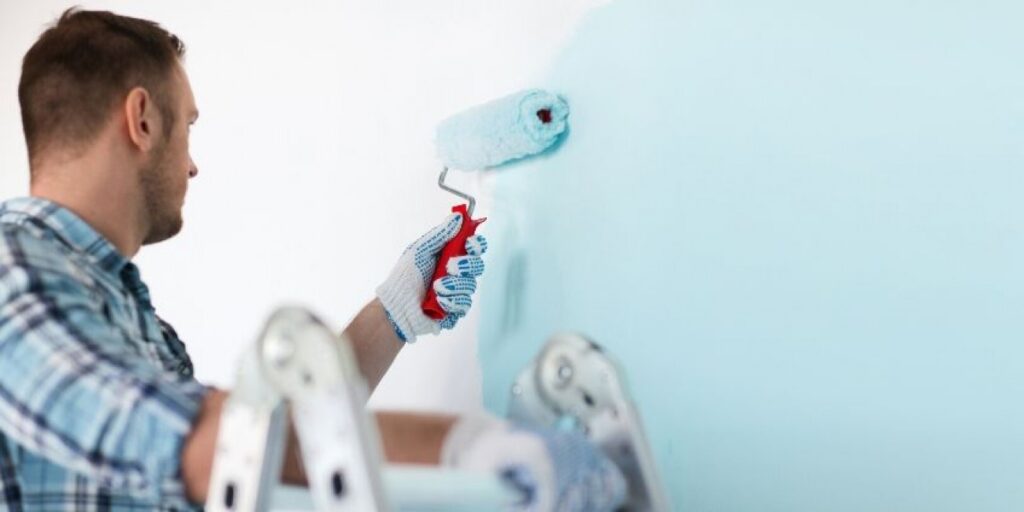
Roll The Paint Like A Pro
Overloading the roller can lead to drips and uneven coverage, while underloading may cause streaks and an inconsistent finish. Professional painters, such as those in a reputable painting company, recommend dipping the roller into the paint tray, then rolling it back and forth on the tray’s ridged section to evenly distribute the paint. This ensures that the roller holds enough paint without becoming saturated, allowing for a smoother application.
When applying interior house paint, using a “W” or “M” pattern is a tried-and-true technique for even distribution. Start by painting a “W” or “M” on the wall, then fill in the spaces without lifting the roller. This method helps spread the paint evenly across the surface and prevents visible roller marks.
Applying too much pressure can cause the paint to thin out, while too little pressure may leave roller marks. Professionals suggest keeping a steady hand and consistent pressure throughout the process. This attention to detail ensures that your interior house paint job looks smooth and professional.
Apply Multiple Coats
Applying multiple coats of paint is often necessary to achieve full coverage and depth of color, especially when painting over darker surfaces or covering up blemishes. A single coat may leave the paint looking patchy or uneven, which is why professional painters always recommend at least two coats for a durable and vibrant finish.
Allowing the first coat to dry completely before adding another is essential to prevent smudging or peeling. Experts suggest waiting at least 2-4 hours between coats, depending on the type of paint and environmental conditions. This drying period ensures that each layer adheres properly and builds a strong, lasting finish.
When applying additional coats, it’s important to avoid drips and streaks by using a light touch and careful technique. Begin by lightly rolling over the previous coat to smooth out any imperfections. Using a quality roller reduces the chances of drips and streaks, resulting in a polished, professional look.
Keep A Wet Edge
The wet edge technique involves keeping the edge of the paint wet as you move from one section to the next, preventing lap marks where the paint overlaps. This is particularly important for achieving a smooth, seamless finish.
To maintain a wet edge, it’s advisable to work in small sections at a time. This approach allows you to focus on blending the edges before the paint begins to dry, reducing the risk of lap marks. You should overlap each section slightly with the previous one to keep the paint wet and achieve a consistent finish throughout.
Proper planning is essential to avoid stopping in the middle of a wall, which can disrupt the wet edge and create visible lines. Plan your painting route in advance, ensuring that you have enough time and paint to complete an entire section before taking a break.
Don’t Forget Clean Up
Cleaning your brushes, rollers, and other tools immediately after use is crucial to maintaining their quality and ensuring they’re ready for future projects. Using warm water and soap for water-based paints or appropriate solvents for oil-based paints is recommended.
Leftover paint and materials should be disposed of responsibly. Many municipalities offer hazardous waste disposal sites where you can safely dispose of old paint and solvents. Alternatively, leftover interior house paint can be stored for touch-ups or donated to community projects. Proper disposal not only complies with environmental regulations but also keeps your workspace safe and organized.
It’s always a good idea to store any leftover paint for future touch-ups. Seal the paint tightly and store it in a cool, dry place away from direct sunlight. Label the can with the room and date it was used to make future touch-ups easier.
Conclusion
Mastering these 10 essential tips for interior house paint will ensure a professional-looking finish that can transform any space. A fresh coat of paint not only revitalizes your living environment but also adds value and personality to your space. If you’re looking for expert help in Auckland, consider reaching out to Colour House, a trusted company dedicated to delivering top-quality painting services. Your dream interior is just a brushstroke away!


